When we began our third lesson I attempted to recreate the joker in the style that the artist had before me, and to do I had to understand what shapes they used.
"Because when you know the shapes you can reproduce that character in that style every time".


We also went over using these techniques on head shapes and body shapes to better grasp variation, and variation is one of things that makes your character memorable~


We moved onto Props (and costume). Our first task was to turn inanimate objects into objects with particular characteristic i.e. evil, hero, sidekick.
I was given a library/study to do, and I found this task rather hard.

After having talked to Justin I was redirected to the basics, circles, triangles and squares and what those shapes actually mean if they were to be put onto an object to give it a certain characteristic/look.
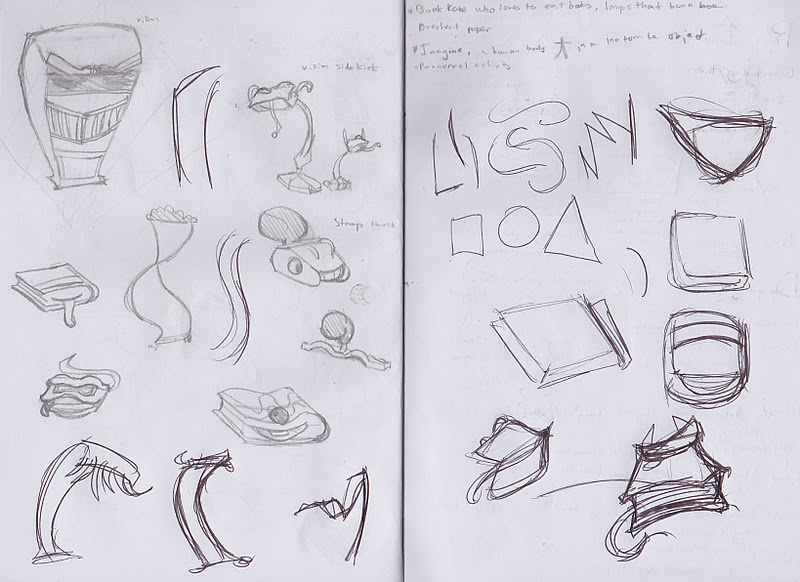
We also had to design props for chosen characters, mine was Pocahontas. After trying to take particular shapes and lines from her outfit and placing them onto a object, I was shown that in order to make a prop look like it belongs to one certain character one has to take almost obvious shapes and almost make the object from that shape, example was the knife made from her body's structure, bold lines, and pointy bits because of her spiky tattoo)


No comments:
Post a Comment
Important Criticism